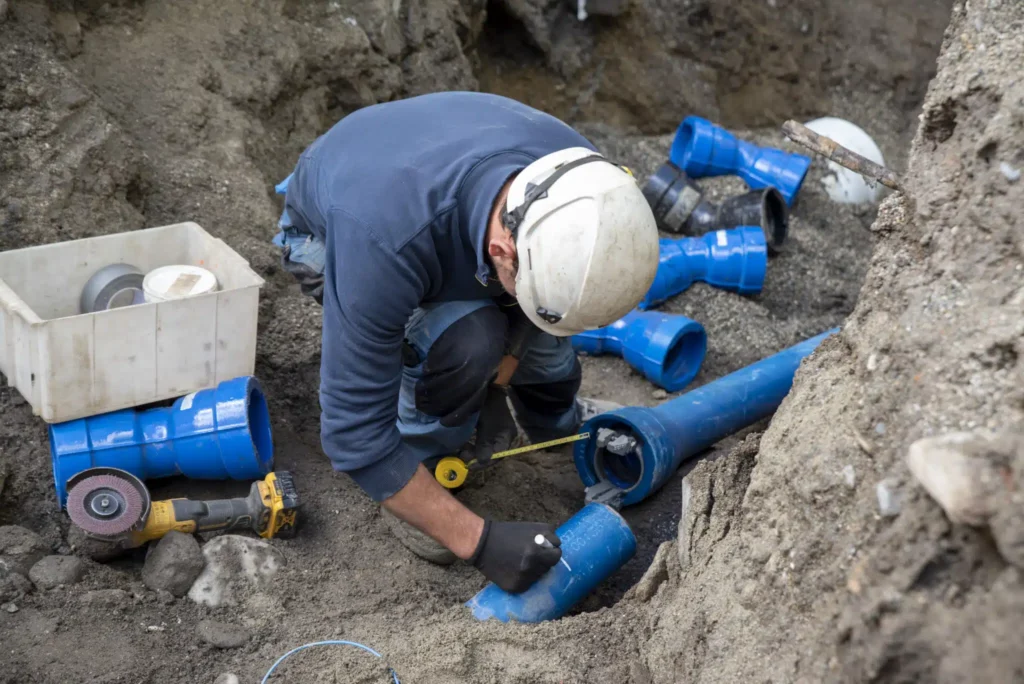
A well-maintained underground drainage system is essential for efficient wastewater removal and stormwater management. However, over time, drain pipes can become damaged or break, leading to drainage issues and potential property damage. Repairing broken drain pipes is a critical task to ensure the proper functioning of your drainage system. In this comprehensive guide, we will explore the steps and techniques to repair broken drain pipes in your underground drainage system, helping you prevent further complications and costly repairs.

1. Identifying the Problem
Before attempting any repair, it’s essential to identify the location and extent of the damage.
Signs of a broken drain pipe may include:
- Slow or completely blocked drainage.
- Sinkholes or depressions in your yard.
- Unusual smells or water pooling on the surface.
- Cracks in building foundations.
- Unexplained increases in water bills.
2. Safety Precautions
Safety should be a top priority when working on any underground drainage system.
Take the following precautions:
- Wear appropriate safety gear, including gloves, protective eyewear, and a dust mask.
- Ensure proper ventilation if you’re working in confined spaces.
- Beware of any nearby utility lines, and use a cable locator to identify their location.
- Be cautious when working in areas prone to flooding or where soil erosion has occurred.
3. Gather the Necessary Tools and Materials
To repair broken drain pipes, you will need the following tools and materials:
- Shovel or excavator for digging.
- Pipe cutter or reciprocating saw for cutting out damaged sections.
- Pipe couplings or connectors to join new pipe sections.
- PVC primer and cement for sealing PVC pipes.
- Rubber couplings and hose clamps for joining different pipe materials.
- Gravel for backfilling and compacting.
- A tape measure, level, and a straight edge for accurate cuts and alignments.
4. Digging Up the Affected Area
Once you’ve identified the location of the broken drain pipe, carefully excavate the area around it. Dig a trench that provides enough space to access and repair the damaged section. The trench should be wide enough to work comfortably and deep enough to expose the entire pipe.
5. Removing the Damaged Section
Using a pipe cutter or reciprocating saw, cut out the damaged section of the pipe. Make clean and straight cuts to ensure a proper fit with the new pipe section.
6. Preparing the New Pipe Section
Measure the length of the damaged pipe section you removed and cut the new pipe section to the same length. Ensure that the new pipe is the same material and diameter as the existing drainage system.
7. Joining the Pipe Sections
Depending on the type of pipe material you are working with, you can use various methods to join the new section to the existing drainage system:
PVC Pipes: For PVC pipes, use PVC primer and cement to create a secure, watertight connection. Follow the manufacturer’s instructions for proper application.
Different Pipe Materials: If the existing pipe is made of a different material, use rubber couplings and hose clamps to create a reliable connection. Ensure the couplings are properly sized to fit both pipe sections.
8. Backfilling and Compacting
Once the new pipe section is securely in place, backfill the trench with gravel to provide stability and promote drainage around the pipe. Compact the gravel as you backfill to prevent settling.
9. Testing and Inspection
After completing the repair, test the drainage system to ensure that water flows freely through the repaired section. Look for any leaks or signs of inadequate sealing. It’s essential to verify that the repaired section functions correctly before covering it with soil.
10. Restoring the Landscape
Replace the excavated soil, ensuring that the area is properly graded to prevent water pooling. Replant grass, shrubs, or any landscaping elements that were disturbed during the repair.
11. Regular Maintenance and Inspection
To prevent future issues with your underground drainage system, consider implementing regular maintenance and inspection routines. This includes checking for signs of damage, clearing debris from drain pipes, and addressing any minor issues promptly to prevent them from becoming major problems.
12. Professional Assistance
In some cases, repairing a broken drain pipe may require specialized equipment or expertise. If you are unsure about the repair process or if the damage is extensive, it’s advisable to consult a professional plumber or drainage expert. They have the knowledge and tools to address complex repairs and ensure the proper functioning of your underground drainage system.
Conclusion
Repairing broken drain pipes in your underground drainage system is a critical task to maintain the efficient removal of wastewater and stormwater. By following the steps outlined in this guide, you can address damage promptly and prevent further complications. Safety precautions, proper tools, and materials are essential for a successful repair. Regular maintenance and inspections are also crucial to prevent future issues and ensure the longevity of your drainage system. Whether you’re a DIY enthusiast or prefer professional assistance, addressing broken drain pipes promptly is key to maintaining a dry, functional, and well-drained property.

